
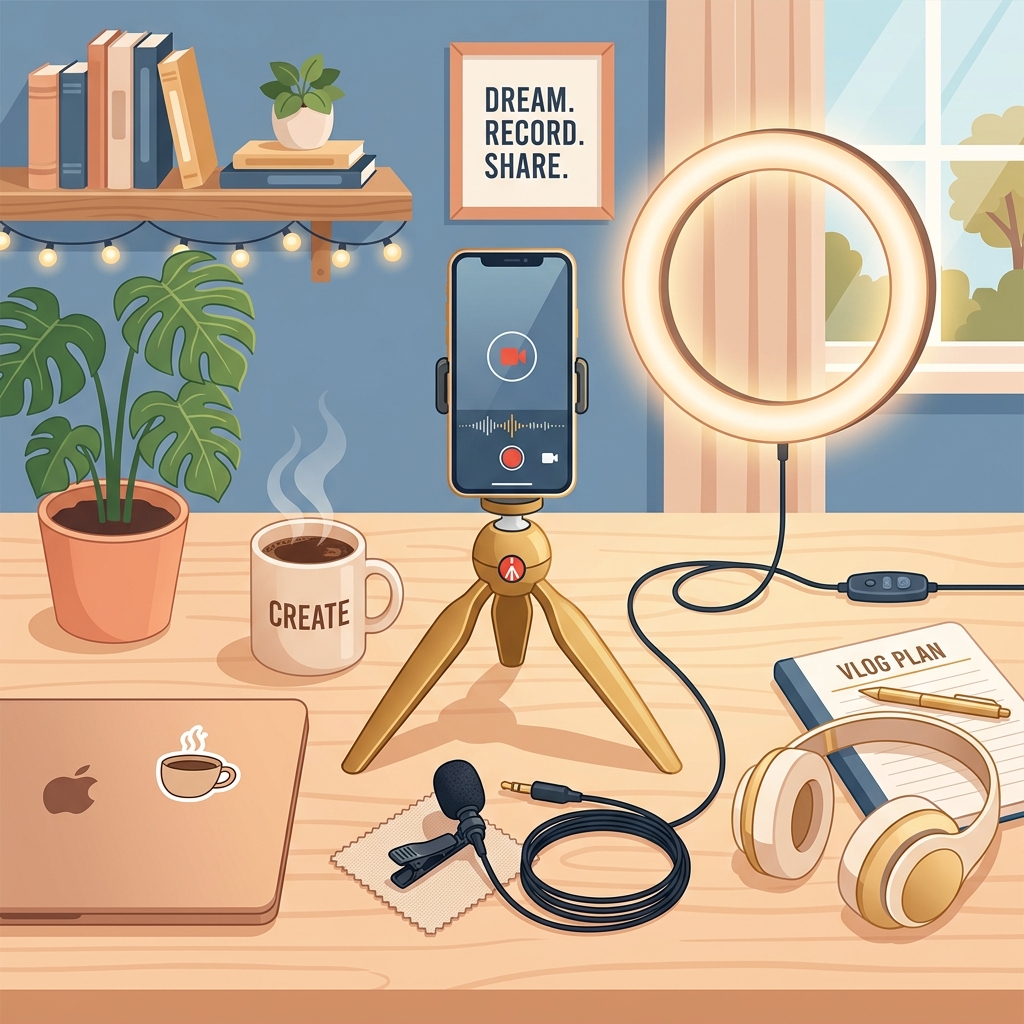
A Creator's Guide to Budget Lighting and Audio Setup for Smartphone Videos
Many aspiring content creators believe they need to invest thousands of dollars in high-end mirrorless cameras, expensive studio lights, and professional microphones before they can publish their first video. This is a common misconception.
Most modern smartphones are capable of shooting stunning 1080p and 4K footage. However, what separates amateur-looking videos from professional ones is not the camera quality—it is the lighting and the audio. Even a $3,000 camera will look bad in a dark room with poor audio, while a budget smartphone can look spectacular with proper lighting and clean sound.
In this guide, we will show you how to set up professional lighting and audio on a budget, helping you instantly upgrade your Instagram Reels, TikToks, and YouTube Shorts.
1. Budget Lighting: Mastering the Light Source
Good lighting does not have to be expensive. In fact, one of the best light sources in the world is completely free: natural sunlight.
Option A: The Natural Light Setup (Free)
Find a large window in your home. Position yourself so you are facing the window directly, or sitting at a 45-degree angle to it.
- Tip: Avoid direct mid-day sunlight, as it creates harsh shadows on your face. Instead, shoot on overcast days or during the "Golden Hour" (late afternoon) when the light is soft and diffused.
Option B: The Budget Ring Light Setup ($20 - $30)
If you often shoot at night or in rooms without windows, a standard 10-inch LED Ring Light is a great starting point.
- Tip: Do not place the ring light directly in front of your face, as this can make your face look flat and create circular reflections in your eyes. Instead, place it slightly to the left or right, angled down at 45 degrees, to create natural-looking shadows that add depth.
2. Budget Audio: Achieving Crystal-Clear Sound
Viewers are willing to tolerate average video quality, but they will swipe away instantly if your audio is scratchy, echoing, or full of background noise. Audio carries the narrative of your video.
Option A: The Smartphone Lapel Mic ($15 - $25)
A wired lavalier (lapel) microphone that plugs directly into your phone's headphone jack or charging port (via an adapter) is the most cost-effective audio upgrade.
- Why it works: Because the microphone is clipped close to your mouth, it captures clear speech while minimizing room echo and ambient noise. Brand names like Boya (e.g., Boya BY-M1) offer incredible quality for under $20.
Option B: Budget Wireless Mic Setup ($30 - $50)
If you need to move around during your videos, a budget dual-wireless microphone system (like the GoChee or budget K9 wireless lavaliers) plugs directly into your USB-C or Lightning port, giving you up to 20 meters of wireless range.
3. Controlling Room Echo (Free Acoustics)
If your recording room has hard tiled floors and bare walls, your voice will echo, making it sound hollow. You do not need to buy professional acoustic foam panels to fix this.
- Add Soft Materials: Place a thick rug on the floor. Hang heavy curtains over the windows.
- Use Pillows and Blankets: Place pillows or drape blankets over chairs just outside the camera frame. These soft materials absorb sound waves, preventing them from bouncing around the room and instantly making your microphone sound twice as expensive.
Simple Lighting and Audio Setup
     [Window / Softbox Light] (Angled at 45°)
              \
               \
    [View] --> [Creator] (Wearing Lapel Mic)
                |
                |
           [Smartphone] (Mounted on Tripod)
By taking advantage of natural window light, investing in a cheap wired lapel microphone, and dampening room echo with household blankets, you can achieve a professional studio setup for less than $30. Focus on audio clarity and soft light placement, and watch your video retention rates increase.